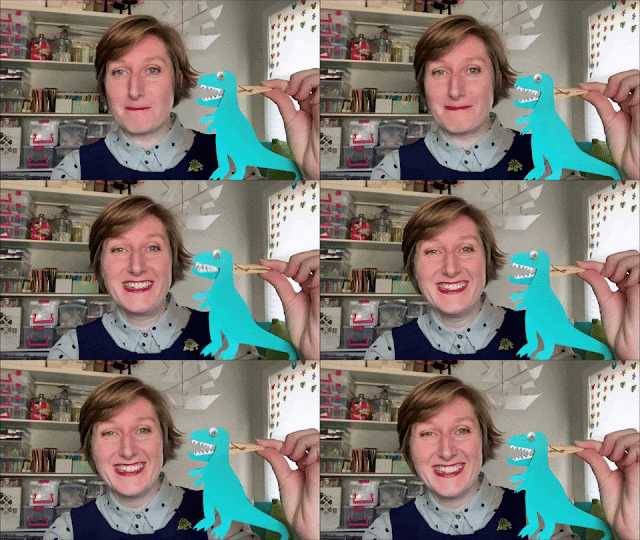
Halloween Disappearing Cards
Whether its as a party activity, rainy day kids craft, or family fun - make your next get together even more animated with our Halloween Disappearing Cards.
Halloween Kids Craft Kit: Disappearing Cards
Materials Included
- Precut Folding Frames
- Precut insert cards
- Halloween doodle templates
- Halloween Print Washi Tape
- Precut Translucent Paper
*Markers and scissors are not included.
- Precut Folding Frames
- Precut insert cards
- Halloween doodle templates
- Halloween Print Washi Tape
- Precut Translucent Paper
Or skip the kit and learn how to make this craft using materials from your local store. Visit the @TableSettingIsMyLife youtube channel for complete instructions on making this craft from scratch.
Or skip the kit and learn how to make this craft using materials from your local store. Visit the @TableSettingIsMyLife youtube channel for complete instructions on making this craft from scratch.
Craft Kit Instructions
1. Pay attention to the markings inside the card indicating "top" and "bottom", as well as the "back tab" marking on the outside, before proceeding to fold it.
2. To properly fold the card, begin by following the scored edges and overlapping the sides. Ensure that the precut window is visible in the front and the back tab can be seen on the outside. Once you have aligned everything, use Halloween tape to secure the back tab in place.
3. On the front, use the Halloween tape to create a border around the precut window.
4. Fold any excess tape on the sides and bottom. However, it's important to avoid folding the tape on the top. Instead, simply cut away any excess tape at the top.
5. Cut out the doodle drawings along the dotted lines. Alternatively, you can use the blank version to create your own spooky design.
6. To assemble your insert card, start by placing a pre-cut transparent paper on top of the cut-out doodle drawing. Then, use a single piece of tape folded along the top to secure the two pieces together. Make sure to trim any excess tape on the sides if necessary.
7. Use a permanent marker to trace the doodle drawing onto the transparent paper.
8. Lift the transparent paper and color the original doodle image in on the white cardstock paper. Do not color the image on the transparent paper.
9. To insert the card, begin by placing the transparent piece of paper in the front compartment of your card case. Then, slide the white cardstock into the back compartment, ensuring that the center flap separates the two.
10. All done! Slide the insert card up and down to see your image appear!
About Craft Along with Katie
Crafts with Katie was a weekly family crafting series hosted by The Keyport Public Library, with special thanks to the Friends of Keyport Public Library. The Friends of the Keyport Library is a nonprofit organization formed to support, promote and advocate for our local library in Keyport, NJ.
Crafts with Katie was a weekly family crafting series hosted by The Keyport Public Library, with special thanks to the Friends of Keyport Public Library. The Friends of the Keyport Library is a nonprofit organization formed to support, promote and advocate for our local library in Keyport, NJ.


.jpg)

