
The Haunted House Vintage Mickey Mouse
.png)
Hello, my crafty friends! Welcome to this spooktacular DIY project where we'll bring a haunted house to life with a few simple materials and our printable template. Whether you're using our template or your own materials, follow this step-by-step guide to create some fun with vintage cartoons!
Materials & Supplies
Coloring Materials (markers, crayons, or colored pencils)
Paper Straws
Cardboard
Tape or Glue
Scissors
Hole Punch
Haunted House Template
- Esty Link: #TableSettingIsMyLife TV Parade Template

Coloring Materials (markers, crayons, or colored pencils)
Paper Straws
Cardboard
Tape or Glue
Scissors
Hole Punch
Haunted House Template
- Esty Link: #TableSettingIsMyLife TV Parade Template
Step 1: Set the Scene

Color the background images on page 1, then carefully cut along the dotted lines, including the attached tab on the second image.
.png)
Next, position the first image over the second, using the overlap tab. Secure them together by applying tape to both sides of the paper along the seam.
.png)
Attach each end of the landscape to paper straws using tape. Leave about an inch on the bottom.
Step 2: Build Your Big Screen
.png)
Cut out the dotted box with the film strip design from page 2. Then cut out the center piece (white middle). Use this as a template to outline on a piece of cardboard.
.png)
Position this cutout over the cardboard and trace around the interior opening. Carefully cut out this traced area, making the opening slightly larger than the original for a better fit. Attach the film template design to the front of the cardboard using glue or tape.
.png) Cut out characters and tape to the back of the template, so that characters are in the center of scene.
Cut out characters and tape to the back of the template, so that characters are in the center of scene..png)
Step 3: Set Up the Support
.png)
Cut four 1-inch squares from another piece of cardboard. Punch a hole in the center of each square, ensuring the hole is slightly larger than your paper straws. I used a pen to widen.
.png)
Take your rolled-up landscape and position it on the back of the TV cardboard, arranging it so that the opening is covered by the drawing. Mark the top and bottom on the cardboard where the straws will sit, and also mark the straw where the bottom of the cardboard is, trimming the straw to fit as necessary.
.png)
Attach the first 1-inch cardboard piece by gluing one edge to one of the two top straw marks. If needed, secure it with a small scrap piece of cardboard for added support. Repeat on other side. Slide both straws into the top holes.
.png)
Next, take the remaining two 1-inch cardboard pieces and insert them into the bottom of each straw. Then, glue one edge to the marked bottom, ensuring it aligns with the top.
.png)
Cut two strips of cardboard, ensuring they match the height of your larger TV piece, which should be approximately 5 inches. On the back side of the large cardboard, attach one edge of each strip to the outer side of the inch squares using glue.
Step 4: Wind it Up and Let it Roll
.png)
Continue twisting the straw to roll up until tight on one side. Turn the straws in the same direction to make the background move.
Step 5: Lights, Camera, Action!
With everything in place, gently rotate the opposite straw to make the background move, giving the illusion of a moving image.

Step 1: Set the Scene

Color the background images on page 1, then carefully cut along the dotted lines, including the attached tab on the second image.
.png)
Next, position the first image over the second, using the overlap tab. Secure them together by applying tape to both sides of the paper along the seam.
.png)
Attach each end of the landscape to paper straws using tape. Leave about an inch on the bottom.
Step 2: Build Your Big Screen
.png)
Cut out the dotted box with the film strip design from page 2. Then cut out the center piece (white middle). Use this as a template to outline on a piece of cardboard.
.png)
Position this cutout over the cardboard and trace around the interior opening. Carefully cut out this traced area, making the opening slightly larger than the original for a better fit. Attach the film template design to the front of the cardboard using glue or tape.
.png)
.png)
Step 3: Set Up the Support
.png)
Cut four 1-inch squares from another piece of cardboard. Punch a hole in the center of each square, ensuring the hole is slightly larger than your paper straws. I used a pen to widen.
.png)
Take your rolled-up landscape and position it on the back of the TV cardboard, arranging it so that the opening is covered by the drawing. Mark the top and bottom on the cardboard where the straws will sit, and also mark the straw where the bottom of the cardboard is, trimming the straw to fit as necessary.
.png)
Attach the first 1-inch cardboard piece by gluing one edge to one of the two top straw marks. If needed, secure it with a small scrap piece of cardboard for added support. Repeat on other side. Slide both straws into the top holes.
.png)
Next, take the remaining two 1-inch cardboard pieces and insert them into the bottom of each straw. Then, glue one edge to the marked bottom, ensuring it aligns with the top.
.png)
Cut two strips of cardboard, ensuring they match the height of your larger TV piece, which should be approximately 5 inches. On the back side of the large cardboard, attach one edge of each strip to the outer side of the inch squares using glue.
Step 4: Wind it Up and Let it Roll
.png)
Continue twisting the straw to roll up until tight on one side. Turn the straws in the same direction to make the background move.
Step 5: Lights, Camera, Action!
With everything in place, gently rotate the opposite straw to make the background move, giving the illusion of a moving image.

Let's Get Animated!

If You Can Dream It, You can Do It.

Join the Fun: Embrace Everyday Joy
Born out of a call to help our local library during lockdown, these crafting videos provide full step-by-step guides to fun and engaging craft projects. Whether you're a seasoned artist or just looking for a delightful way to spend an afternoon with the family, these videos are designed to inspire and entertain.
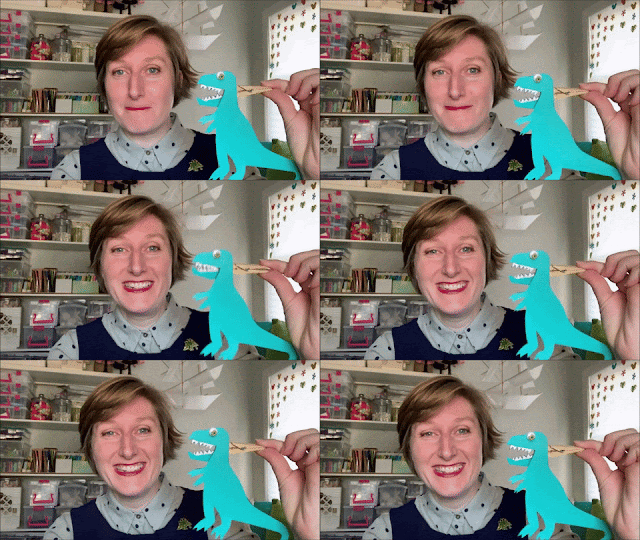 For those who want to craft along with me, be sure to visit my Etsy store where you can purchase craft kits containing all the materials you need for each project. Let's get creative and make something amazing together!
.png)
For more totally family friendly crafts, check out our previous Crafts with Katie posts.
.png)
.png)


.png)
